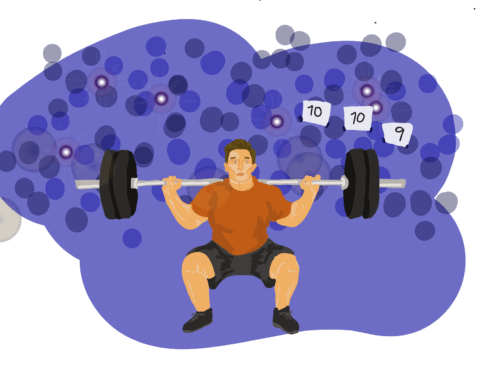
If you’re looking to build size or strength in the gym, a well-planned weekly routine that works all areas of the body is crucial to success. When planning your lower body routine, consider whether barbell squats are right for you. They are a great compound movement that is excellent for strengthening your legs, back and core. Here’s the Sheaf’s step-by-step guide of how to do a basic barbell squat.

1. Leave your ego at the door: it’s always impressive to see someone at the gym squatting a bar loaded with a huge stack of weights, but before you load more weight onto the bar than you can confidently lift, keep in mind that no one lifts huge overnight. Any small form mistakes you make lifting light weight will turn into disasters under heavy weights and could cause injuries. Start light and perfect your form.
2. Setting up the rack: the bar should be set at about mid-chest height. This allows you to get under and clear the rack at the beginning of the lift when you are well rested, and helps make it easier to place the bar back on the rack after the set is complete when you are fatigued. If the rack is set too high, it will be difficult to get the bar off the rack at the beginning of the lift and to set it back on the rack after, especially if you are tired after a set.
3. Getting under the bar: before getting under the bar, make sure that an equal amount of weight is on each side of the bar and that it is centered on the rack. You do not want to lift a bar unevenly; that could cause injury. Once the bar is centered, it should rest on your trapezius muscles, but not on your neck. Doing so would put too much strain on your vertebrae and could result in injury. If you find that the bar is digging into your back and is too uncomfortable, readjust your position so that the bar rests lower on your back or move the rack to a lower position if it is set too high. Make sure that the bar is centered on your back.
4. Grip: generally, your hands should grip the bar at a distance that is wider than your shoulders but as close to them as possible. Imagine having T-Rex sized arms by tucking your elbows into your ribs and then lift them to your head: this would form a “W” with your arms and head, with your arms gripping the bar from the back and your head in front of the bar. Your shoulder blades should also be squeezed together but should not be so tight as to cause pain. Make sure that your hands are placed an equal amount of distance apart from your shoulders and squeeze the bar tightly with your hands.
5. Core: tighten your core and back muscles — in addition to those muscles in your shoulders — to keep the weight balanced during the lift. Your spine should have a slight but not exaggerated rear arch and your head should be pointed forward or slightly upwards towards the ceiling.
6. Foot width and squat depth: your foot width will vary based on the depth that you want to achieve. Squats can be done safely at greater depths as long as you maintain good form with your back and knees. Deeper squats require a narrower stance, but regardless of depth, keep your knees in line or behind your toes by placing your weight on the heel of your foot.
Lifting the bar off the rack, lowering it two inches and then locking out does not count as reaching depth.
7. Completing the lift: once depth has been reached, keep your core and back tight, chin up, squeeze your quads and glutes and press upwards while maintaining a neutral spine. Make sure that your knees do not cave inwards or bow outwards at any time during the lift, otherwise you could tear a knee ligament. Remember to inhale while at the top of your lift before reaching depth and to exhale during ascension.
Squats don’t have to be a chore and are indeed a very rewarding exercise. When done correctly with proper form they are a safe exercise that build strength and balance. Stay safe, stay smart and don’t skip leg day.
Perform these exercises responsibly and at your own risk. The Sheaf will not be responsible for any injury sustained as a result of using any workout program presented and/or discussed in our publication.
—
Brenden Palmer / Sports & Health Editor
Graphic: Lesia Karalash / Graphics Editor
Leave a Reply